
Introduction
Xbox One controllers are a cornerstone for immersive gaming. However, joystick malfunctions like drift or stickiness can disrupt gameplay. Understanding how to fix these issues can restore your gaming experience. Let’s dive into identifying common problems and how to address them efficiently.
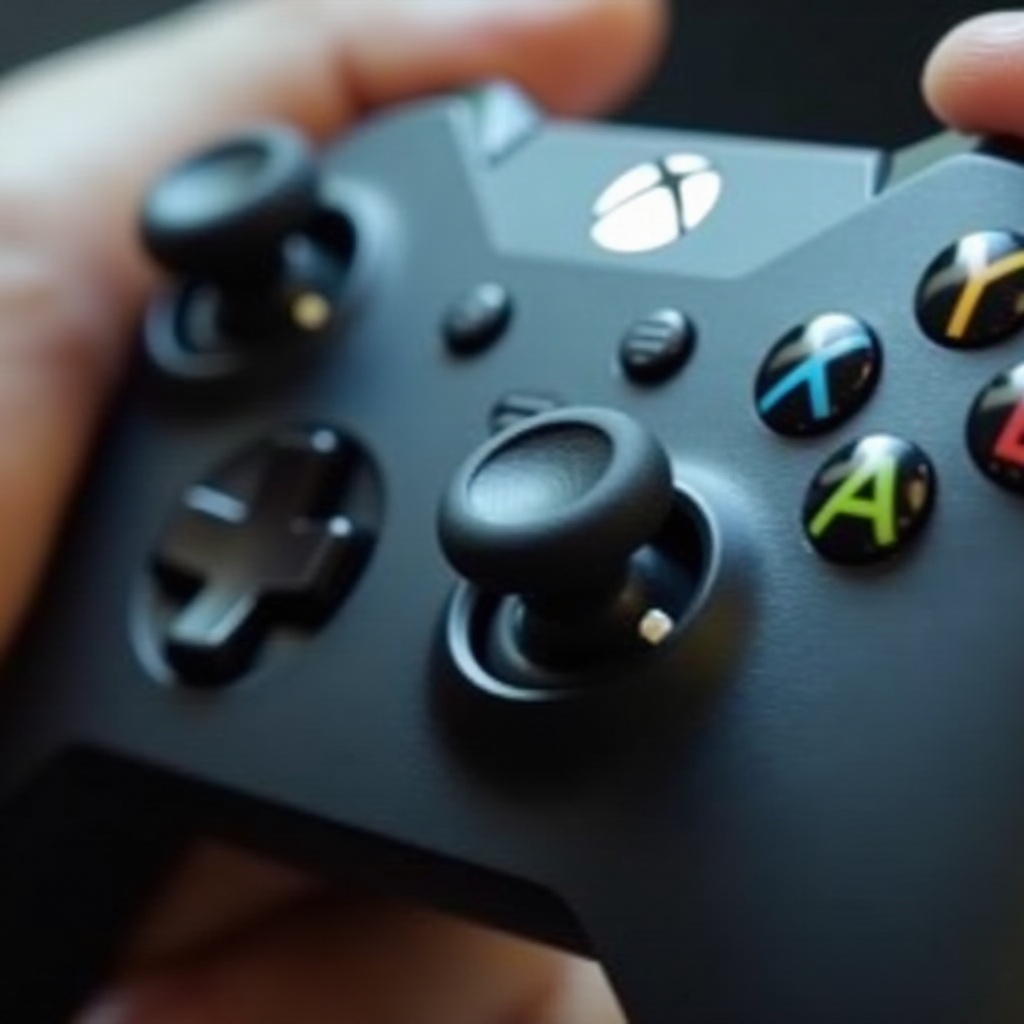
Common Issues with Xbox One Controller Joysticks
Joysticks can suffer from drift and physical damage, interfering with your gameplay. Drift occurs when your controller registers movement without input, while physical damage often results in stickiness or unresponsiveness. Recognizing these issues early can save you from further frustration and more costly fixes.
Identifying Drift and Stickiness
Joystick drift might cause characters to move erratically. Stickiness manifests as resistance or rough movement in the joystick. Both require specific methods of attention to ensure smooth functionality.
Recognizing Physical Damage
Physical damage such as cracks or visible wear needs a distinct repair approach. Examine your controller for any obvious signs of distress which often necessitate the replacement of parts.
Essential Tools and Materials for Repair
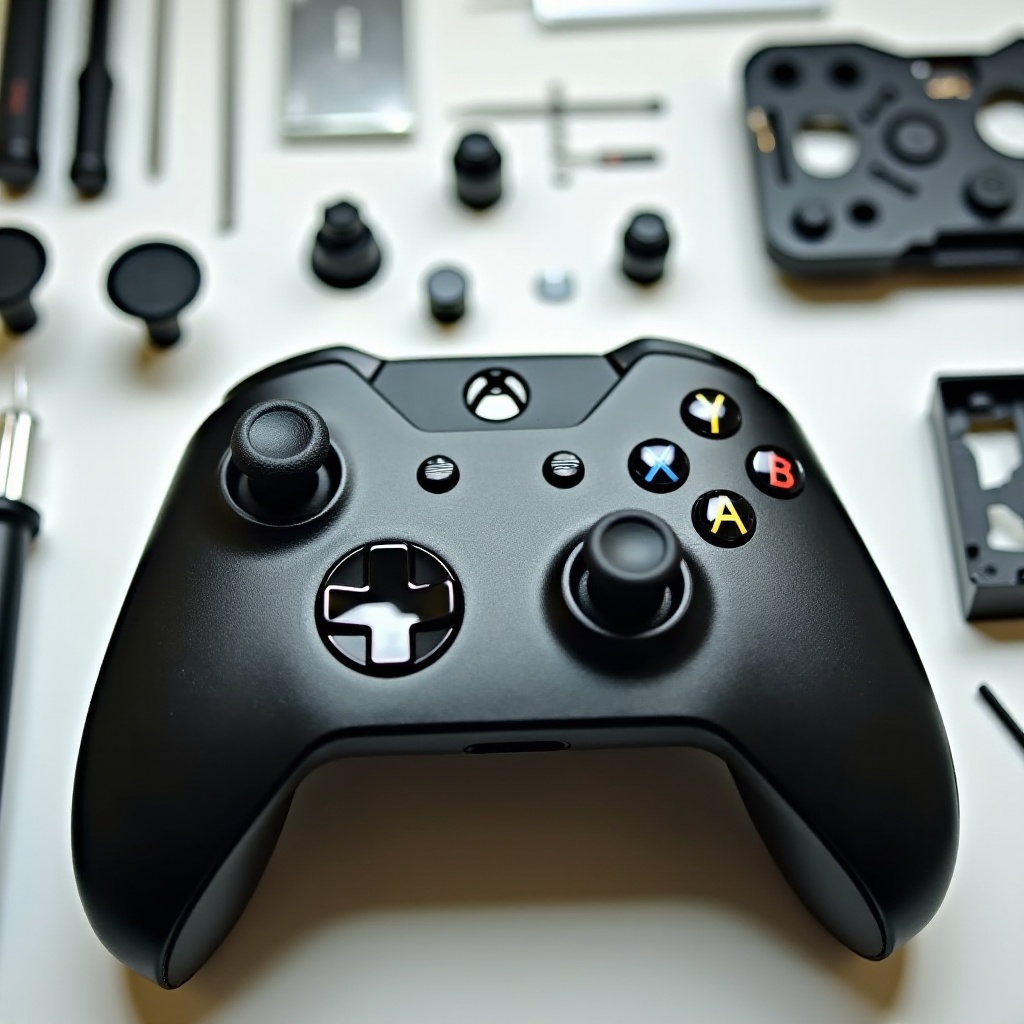
Before proceeding with repairs, gather the following tools:• A small screwdriver set (preferably Torx T8 and T6)• Isopropyl alcohol (at least 70%)• Cotton swabs• Compressed air canister• Replacement joystick components (if necessary)These tools ensure a streamlined repair process and avoid interruptions.
Step-by-Step Guide to Fixing Joystick Issues
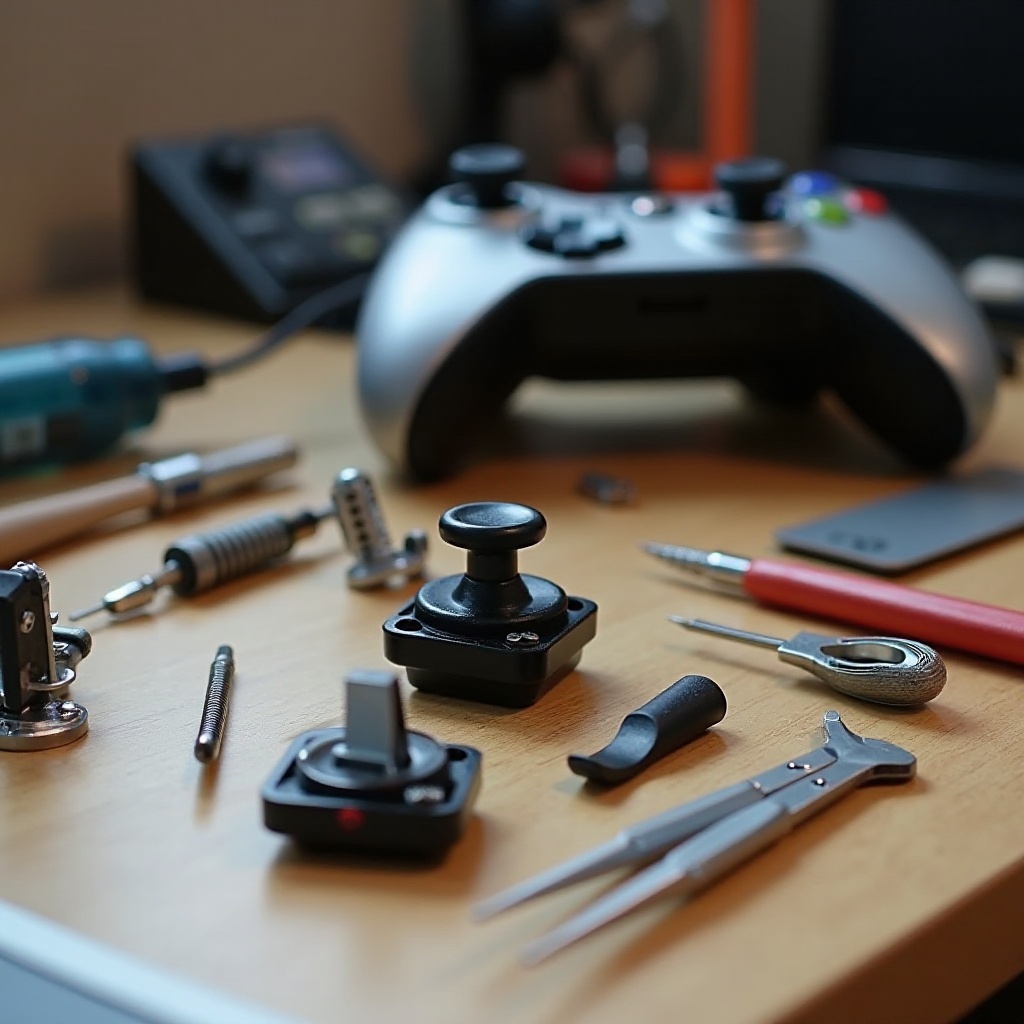
Let’s explore the steps to deal with joystick problems effectively.
Initial Checks and Quick Fixes
- Restart the controller by disconnecting and reconnecting it to the console.
- Ensure your Xbox One software is current, as updates can address joystick issues.
Disassembling the Controller Safely
- Remove batteries to prevent short circuits.
- Carefully unscrew the shell using a screwdriver and organize all parts securely.
- Open the shell gently to expose the internal components without causing additional damage.
Cleaning the Joystick Mechanism
- Use compressed air around the joystick to remove dirt.
- Clean the joystick’s base with a cotton swab dipped in isopropyl alcohol to clear any grime.
Repairing or Replacing the Joystick Components
- Examine the joystick mechanism for damage.
- If necessary, replace the joystick component following the manufacturer’s guidelines.
Reassembling and Testing the Controller
Rebuilding your controller and ensuring its functionality is crucial after repair.
Ensuring Proper Reassembly
- Align and press the shells back together carefully.
- Secure screws without over-tightening to protect the shell’s integrity.
Testing for Functionality Post-Repair
- Insert batteries and test the joystick’s response in all directions.
- Verify that the joystick operates smoothly and without drift.
Preventive Maintenance Tips
Implementing regular maintenance routines helps avoid joystick issues and extends controller life.
Regular Cleaning Practices
- Utilize a soft cloth and compressed air to maintain cleanliness and functionality.
- Steer clear of exerting excessive force on the joystick to prevent wear.
Best Practices for Handling
- Store your controller in dry, clean environments.
- Protect the controller from impacts which can cause internal damage.
Conclusion
By following these instructions, recognizing, and addressing joystick problems becomes manageable. Taking steps for regular maintenance ensures your Xbox One controller performs at its best, offering uninterrupted gaming enjoyment.
Frequently Asked Questions
How long does it usually take to fix an Xbox One controller joystick?
The process can take 30 minutes to a few hours, depending on the issue’s complexity.
Can cleaning alone fix joystick drift?
Yes, in some cases, where dirt is the cause, cleaning can resolve drift.
When should I consider professional repair services?
Professional repair should be considered if there’s significant damage or unsuccessful DIY attempts.