
Introduction
Keeping your PlayStation 4 in top condition is vital for any gamer. One crucial maintenance task is replacing its thermal paste. Over time, thermal paste can dry out, leading to overheating and performance dips. Replacing it ensures your console runs smoothly and lasts longer. This guide provides detailed steps to help you efficiently replace your PS4’s thermal paste.
The Importance of Replacing PS4 Thermal Paste
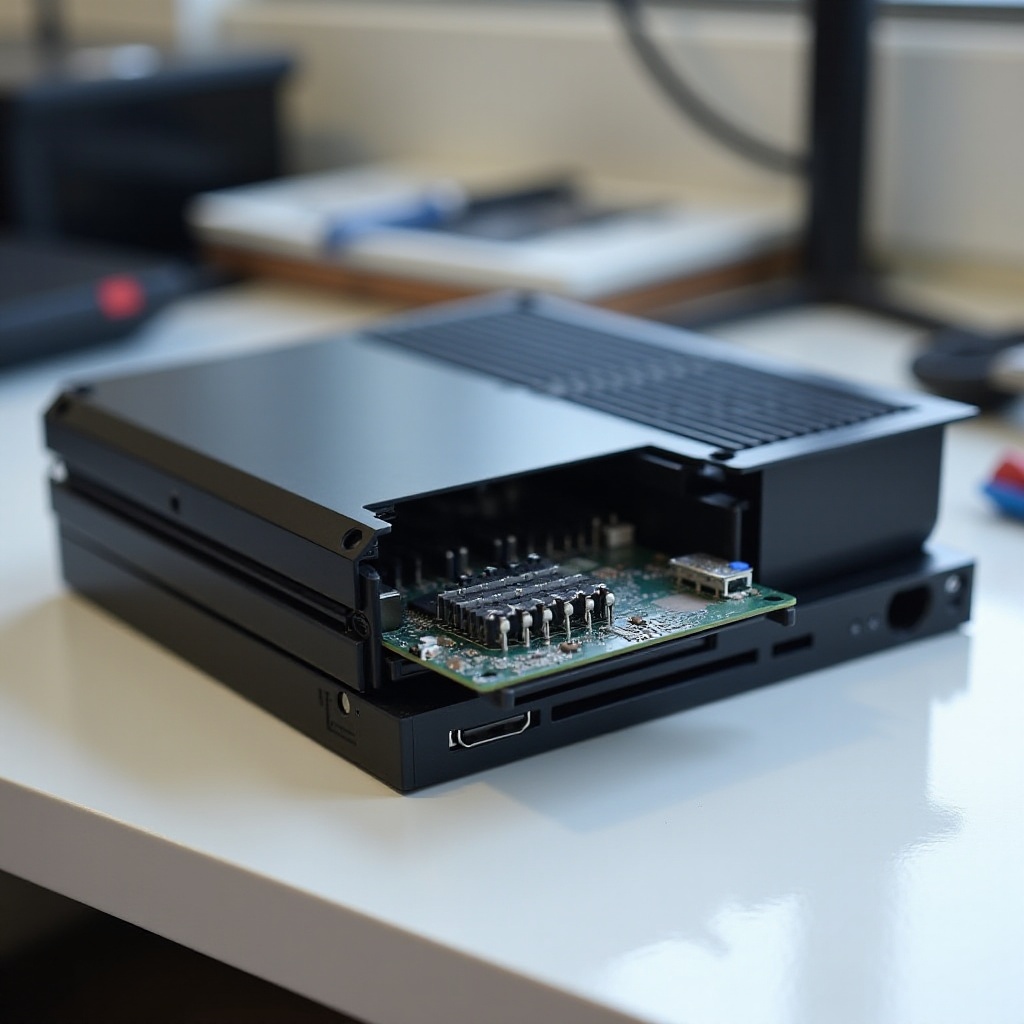
The thermal paste in your PS4 facilitates effective heat transfer between the CPU and the heat sink. When it degrades, your PS4 might overheat, causing crashes or reduced performance. Timely replacement restores optimal cooling, protecting your console from damage and enhancing its performance. Further, it contributes to quieter fan operation, improving your gaming experience.
Understanding these benefits leads us to the next step—preparing with the correct tools and materials.
Tools and Materials Needed for Replacing PS4 Thermal Paste
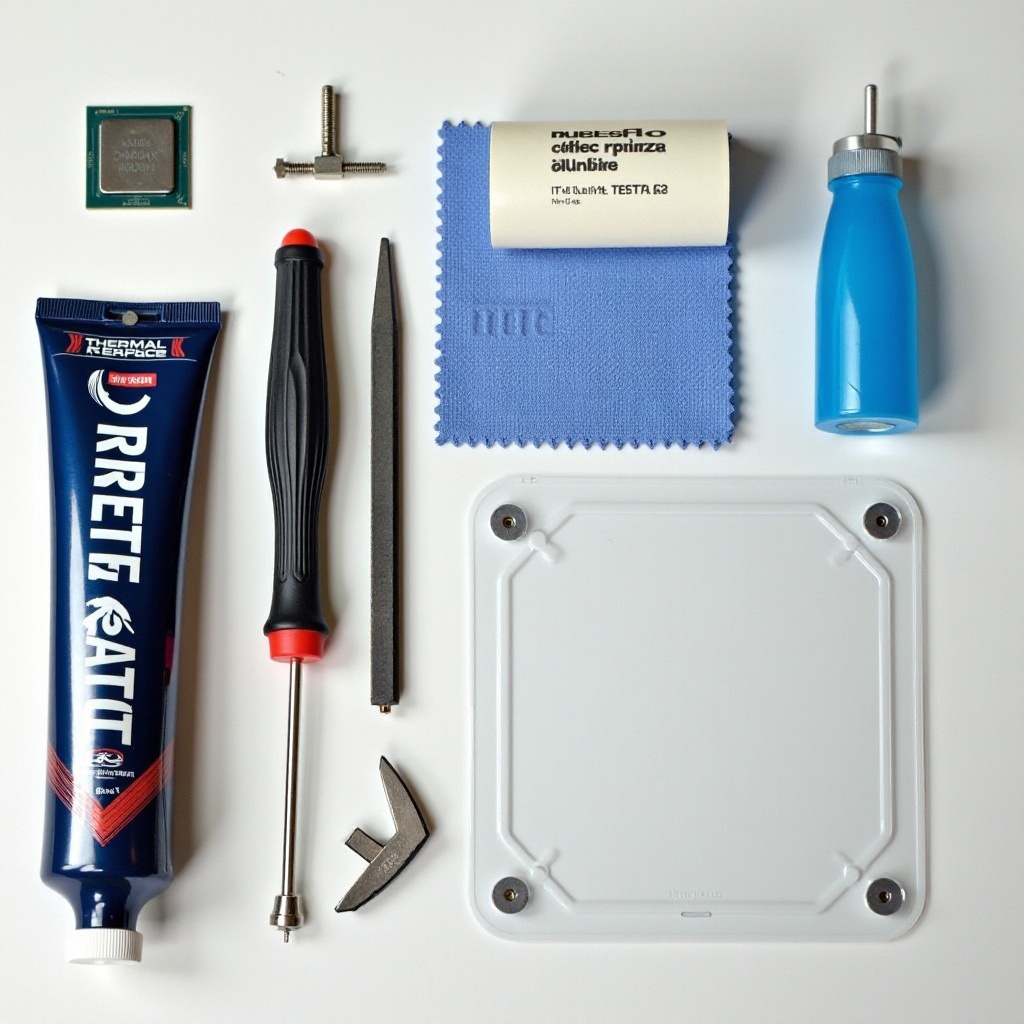
For a smooth replacement process, gather the necessary tools and materials:
- Precision screwdriver set (Phillips and Torx)
- Isopropyl alcohol (at least 90%)
- Microfiber cloth or lint-free wipes
- Quality thermal paste (Arctic MX-4, Thermal Grizzly Kryonaut)
- Plastic spudger or prying tool
- Anti-static wristband (to prevent static damage)
Having these items ready will make your work easier. With equipment in place, it’s time to move on to the actual replacement steps.
Step-by-Step Guide to Replacing PS4 Thermal Paste
- Preparing Your Workspace and Gathering Supplies
- Set up a clear, well-lit workspace.
-
Make sure all tools and materials are within easy reach.
-
Safely Disassembling Your PS4 Console
- Disconnect your PS4 and allow it to cool.
- Use a T8 or T9 Torx screwdriver to remove rear screws.
-
Gently lift the cover with a plastic prying tool.
-
Cleaning the Old Thermal Paste Thoroughly
- Locate the CPU on your PS4.
- Apply isopropyl alcohol to a microfiber cloth.
-
Carefully clean the old thermal paste from the CPU and heat sink completely.
-
Applying New Thermal Paste Correctly
- Place a small pea-sized drop of new thermal paste on the CPU.
-
Reattach the heat sink, letting the pressure spread the paste evenly.
-
Reassembling the PS4 with Care
- Replace the cover and screws.
- Check that all connections are secure before reactivating the console.
After completing these steps, regular maintenance will help keep your PS4 running efficiently.
Tips for Maintaining Your PS4’s Cooling System
Advancing from replacement, ongoing care is crucial for longevity:
- Regularly dust console vents and fans.
- Use a dust cover and position the console in a ventilated area.
- Avoid soft surfaces to maintain airflow.
To further combat overheating, additional cooling solutions can be beneficial.
Additional Cooling Solutions for PS4 Gamers
Aside from maintenance, consider these extra methods to enhance performance:
- Use cooling stands with built-in fans to increase airflow.
- Position your PS4 upright with a vertical stand to improve heat dissipation.
- Lower ambient temperatures with external fans for robust cooling.
These practices will bolster your PS4’s longevity, ensuring a reliable gaming experience.
Conclusion
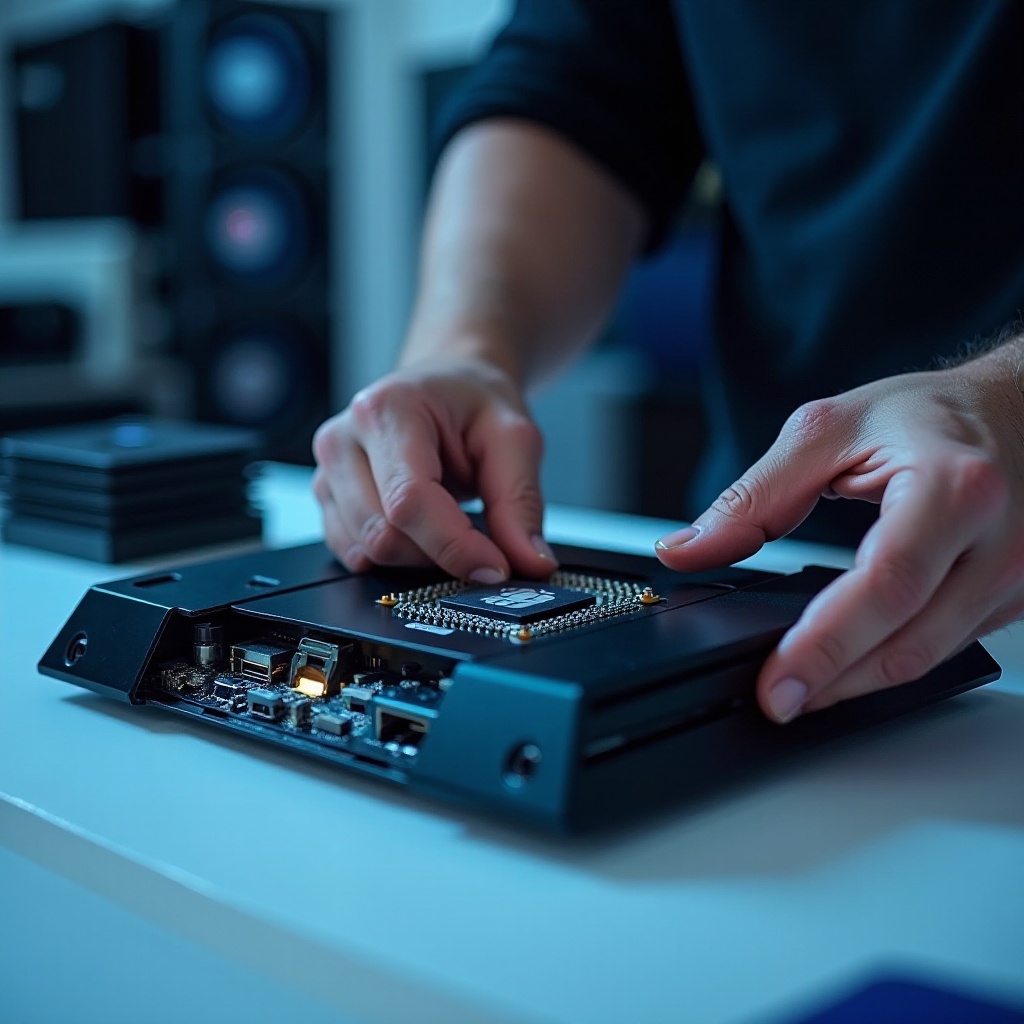
Replacing your PS4’s thermal paste is an effective way to maintain its performance and prevent overheating issues. By following this comprehensive guide, you’ve taken a significant step in preserving your console. Regular maintenance and additional cooling practices further ensure your PS4 remains a steadfast gaming ally.
Frequently Asked Questions
How often should I replace the thermal paste on my PS4?
Ideally, you should replace the thermal paste every 2-3 years based on usage frequency.
Can replacing the thermal paste void my PS4 warranty?
Opening your PS4 might void an active warranty. Check the warranty terms before attempting this.
What signs indicate that my PS4’s thermal paste needs replacing?
Look out for excessive fan noise, unexpected shutdowns, or overheating during gameplay.